Wall Tile Installation Tips
Recommended Tools
Personal protection equipment is not required to handle Qwel™ wall tiles.
Sharp utility
knife
Tape
measure
Pencil
24+" straight
edge
Level
Roller
Before You Begin:
- Ensure that the interior vertical surface is clean, dry, and free from dust, grease, or any other contaminants.
- Gather all the necessary tools and materials for the installation, which may include a tape measure, utility knife, straight edge, level, pencil, and a roller for applying pressure.
Step 1: Measure and Plan
- Measure the height and width of the wall surface where you want to install the acoustic wall tiles. Calculate the total area in square feet or square meters to determine how many tiles you’ll need.
Step 2: Prepare the Tiles
- Lay out the Qwel acoustic PET wall tiles flat on a clean and dry surface, and allow them to acclimate to the room temperature for at least 24 hours before installation.
- During this time, inspect the tiles for any defects or damages. Do not install damaged tiles
Step 3: Layout and Positioning
- Determine the starting point for your installation. Usually, it’s best to start from a corner or an edge of the wall.
- Use a level and a straight edge to mark a vertical guideline on the wall, ensuring that it is straight and level.
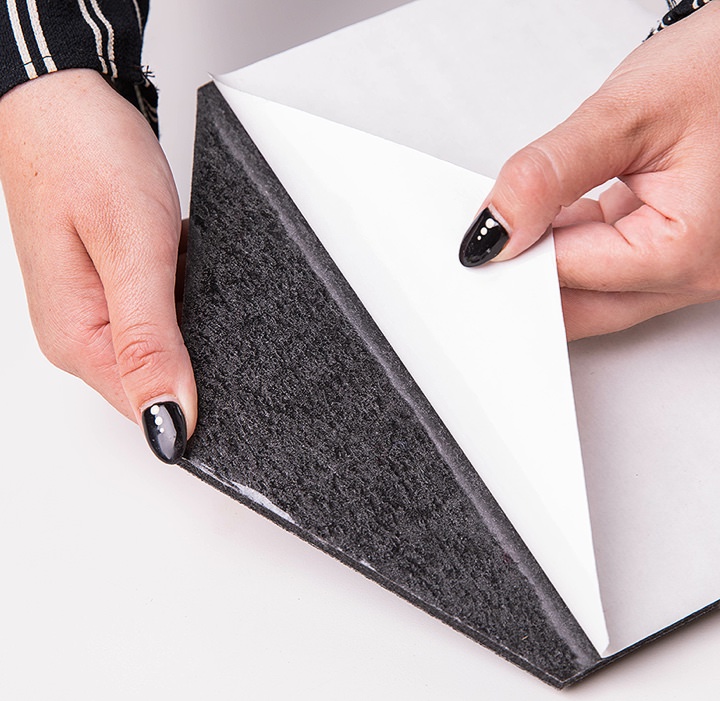
Step 4: Peel and Stick Adhesive Application
- Peel off the backing of the first Qwel acoustic PET wall tile, exposing the adhesive side.
- Align the top edge of the tile with the guideline on the wall and press firmly in place.
- Continue peeling and sticking the tiles one by one, aligning them horizontally and vertically. Use the guideline and level to maintain straight lines.
- If necessary, cut the tiles to fit along the edges or corners using a utility knife and straight edge.
Step 5: Apply Pressure and Check Alignment
- Once all the tiles are in place, use a roller to apply firm and even pressure across the entire surface of each tile. This helps ensure proper adhesion.
- Periodically check the alignment and level of the tiles as you progress, making any adjustments as needed.
Step 6: Finishing Touches
- Clean the surface of the acoustic PET wall tiles with a soft, damp cloth to remove any dust or residue.
Congratulations! You have successfully installed Qwel acoustic PET wall tiles to your interior vertical surfaces using peel and stick adhesive. Enjoy the enhanced acoustic properties and aesthetic appeal they bring to your space.
Maintaining Qwel Tiles
Qwel Tiles are made from PET fibers for easy cleaning, typically with just soap and water.
5-Year Limited Warranty
Qwel™ tiles are warranted to be free from manufacturing defects when installed and used as intended for five years from the date of purchase.
Ready to elevate your space with Qwel Designer Acoustic Tiles?
Contact Us